How to Remove Shower Calcium Deposits
April 13, 2022

How to Remove Shower Calcium Deposits
Do you have a white film or scaly buildup on your tile or stone shower? This is caused by calcium deposits, which can be difficult to remove. Here are some DIY solutions you can try yourself before you reach out for professional services.Why Calcium Deposits Are Usually Found in Showers
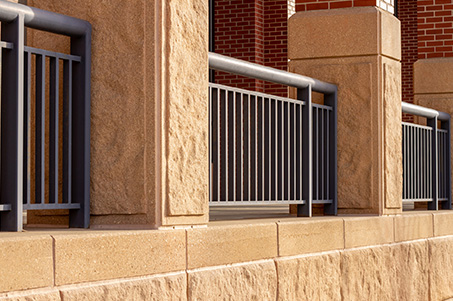
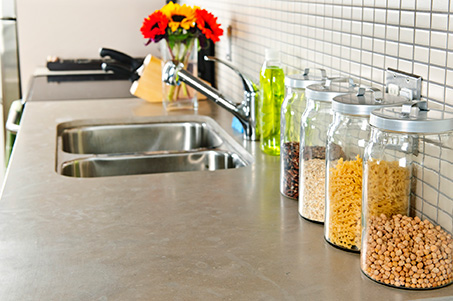
Water with a high mineral content can deposit calcium carbonate on your natural stone or tile surfaces. Over time, these deposits build up.Natural stone and tile applications that get no or minimal water exposure rarely ever get calcium deposits. Examples include entryway walls, fireplace surrounds, damp-mopped floors, and areas of countertops that get little use. However, surfaces that are constantly being wiped may slowly, over a long period of time, become cloudy looking with calcium deposits. Examples include high-use countertop areas (usually near sinks), commercial bar tops, and restaurant table tops.
Bathroom showers are the major problem area for calcium deposits. Every time someone showers, the surfaces are exposed to an average of two gallons of water per minute!
Be Careful
The challenge in removing calcium deposits is avoiding damage to the surface. If you have porcelain or ceramic tile, you can use harsher cleaners than those that can be used on natural stone. You might be able to get away with using mildly acidic cleaners on silicate-based stones, such as granite, sandstone, slate, and quartzite, but if you have calcium-based natural stone, your options are limited. Polished stone may be more likely to require professional refinishing after DIY calcium deposit removal methods than honed stone.Solutions to Remove Calcium Deposits
The following are DIY suggestions for removing calcium deposits from your natural stone or tile surfaces. WARNING: As alluded to previously, some DIY methods can cause dullness or etch damage to natural stone. You may want to reach out to your stone restoration technician before proceeding.- Use a plastic putty knife to scrape off the excess buildup. Be sure not to use a metal knife, as it can leave marks or scratches.
- Saturate the surface with the appropriate cleaner. Allow enough dwell time to soften the buildup. Clean using a white cloth or soft nylon brush.
- For tile or stone, rinse thoroughly to remove any cleaning residue. For stone, especially if you used sulfamic acid, follow up with a pH-neutral cleaner prior to the final rinse.
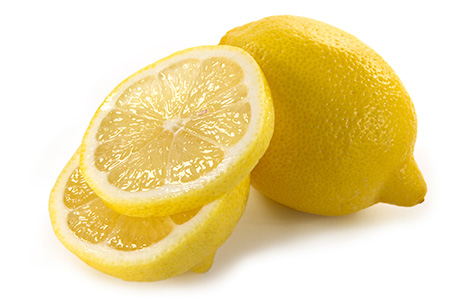
The glazed finish on porcelain and ceramic tiles cannot be ruined with most acidic cleaners, such as lemon juice, white vinegar, soap film remover, and other acid-based cleaners. The exception is hydrofluoric acid. Avoid heavy duty acids, such as HCL and CLR, which pose numerous health risks. If necessary, you may also use a green scrubbing pad on porcelain or ceramic.
Marble and Other Calcium-Based Stone
Stone-safe, pH-neutral cleaners can be used on both polished and honed natural stone. Do not use a green scrubbing pad on polished stone. You might be able to get away with using it on stone with a honed finish, but do so at your own risk knowing that some honed finishes have a higher polish than others. If the desired results are not achieved, use a heavy-duty, non-acidic soap film remover.
Granite and Other Silicate-Based Stone
For granite and other silicate-based stone, use the same methods as mentioned above for marble and other calcium-based stone. If the desired results are not achieved, use sulfamic acid (not to be confused with sulfuric acid), available at home improvement centers.
Professional Cleaning and Restoration May Be Necessary
DIY methods are valuable for regular cleaning and in some cases, more intensive cleaning, but professional stone and tile services achieve dramatic results that cannot be achieved using DIY methods. If you choose to try DIY methods first, feel free to contact us for specific product recommendations. If DIY methods fail to produce the desired results or leave your stone looking dull, we are here for you. Perhaps reading this article makes you realize you have better things to do than spending hours cleaning your shower. Contact us if you would like to schedule professional calcium buildup removal services.This article is one of a series of articles written and published on behalf of SurpHaces PRO Partners

